Drywall Repair: 5 Pro Fixes That Make New Paint Disappear
If you’re planning interior painting this February, Sean Hadden Painting has one friendly warning before you pick a color: paint doesn’t hide wall problems—it spotlights them. Winter light is brighter, rooms are closed up more, and higher-sheen finishes make every ripple, seam, and patch line easier to see. Fortunately, with the right repair-and-prep steps, your walls can look like the damage never happened.
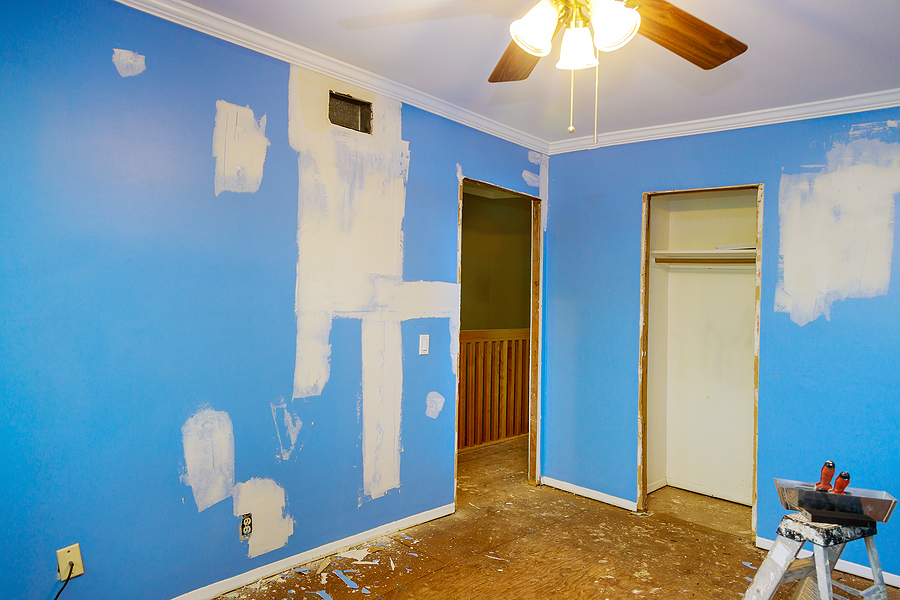
Paint is honest. Prep is magic.
A quick patch may appear acceptable until the first coat dries. Professional-looking paint starts long before the roller is used—repairs, sanding, and priming are essential for achieving a smooth and intentional finished wall.
1. Feather Wide
The most common DIY repair involves using a patch that only covers the exact damaged area. This approach can create a slight bump or a hard edge that becomes more noticeable once you paint over it, particularly in sunlight.
To achieve a professional finish, extend the drywall repair area well beyond the original damage. A gradual transition is key to ensuring the patch blends seamlessly with the surrounding wall.
2. Match texture before color
You notice texture differences faster than color differences. For example, a smooth area in a room with an orange-peel texture will stand out, even if the paint color is the same.
Before you paint, identify the existing texture (like smooth, orange peel, or knockdown) and match it. Focus on the texture first, then choose the color.
3. Control dust for a clean finish
Drywall dust doesn’t stay in one place. It floats through the air, settles on surfaces, and clings to various items, often ending up mixed into wet paint or stuck to trim.
4. Prime patches
Fresh joint compound absorbs paint differently than the surrounding drywall, which can lead to flashing—those dull or shiny areas that become visible after the paint dries, particularly in hallways and rooms with strong side lighting.
To avoid this issue, it’s a good idea to spot-prime the repaired areas. This small step helps ensure that the topcoat dries to a uniform sheen, preventing an unwanted patchwork look.
5. Treat older homes with extra care
If your home was built before 1978, the paint layers may contain lead. The EPA provides guidance on when paid renovation work must comply with lead-safe practices and use certified contractors.
Get Professional Assistance
To achieve a seamless look with your new paint—without any patch outlines, flashing, or noticeable color differences—it’s essential to start with proper preparation. Contact Sean Hadden Painting at (317) 538-1530 to schedule an evaluation and receive a quote. We will assist you in prioritizing the most important repairs to ensure your finished walls appear smooth, clean, and professionally done.
Gregory, Brian. 2026. “How to Patch and Repair Drywall.” Lowe’s. Updated February 9, 2026. Accessed February 20, 2026. https://www.lowes.com/n/how-to/patch-and-repair-drywall.